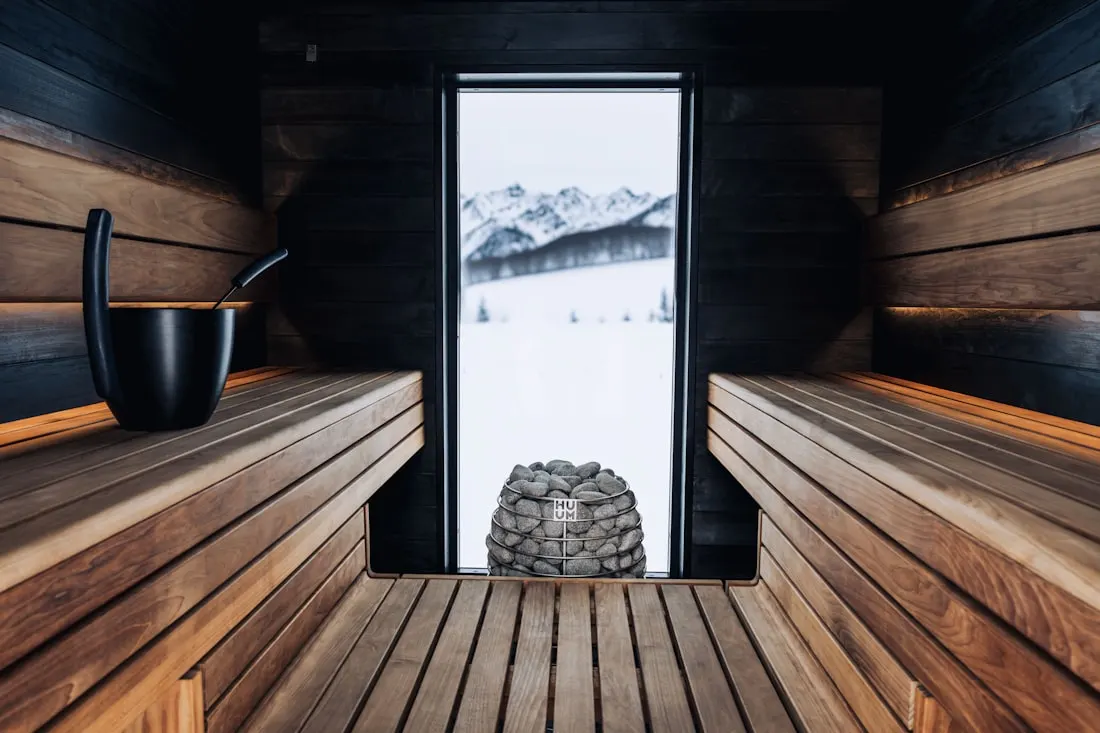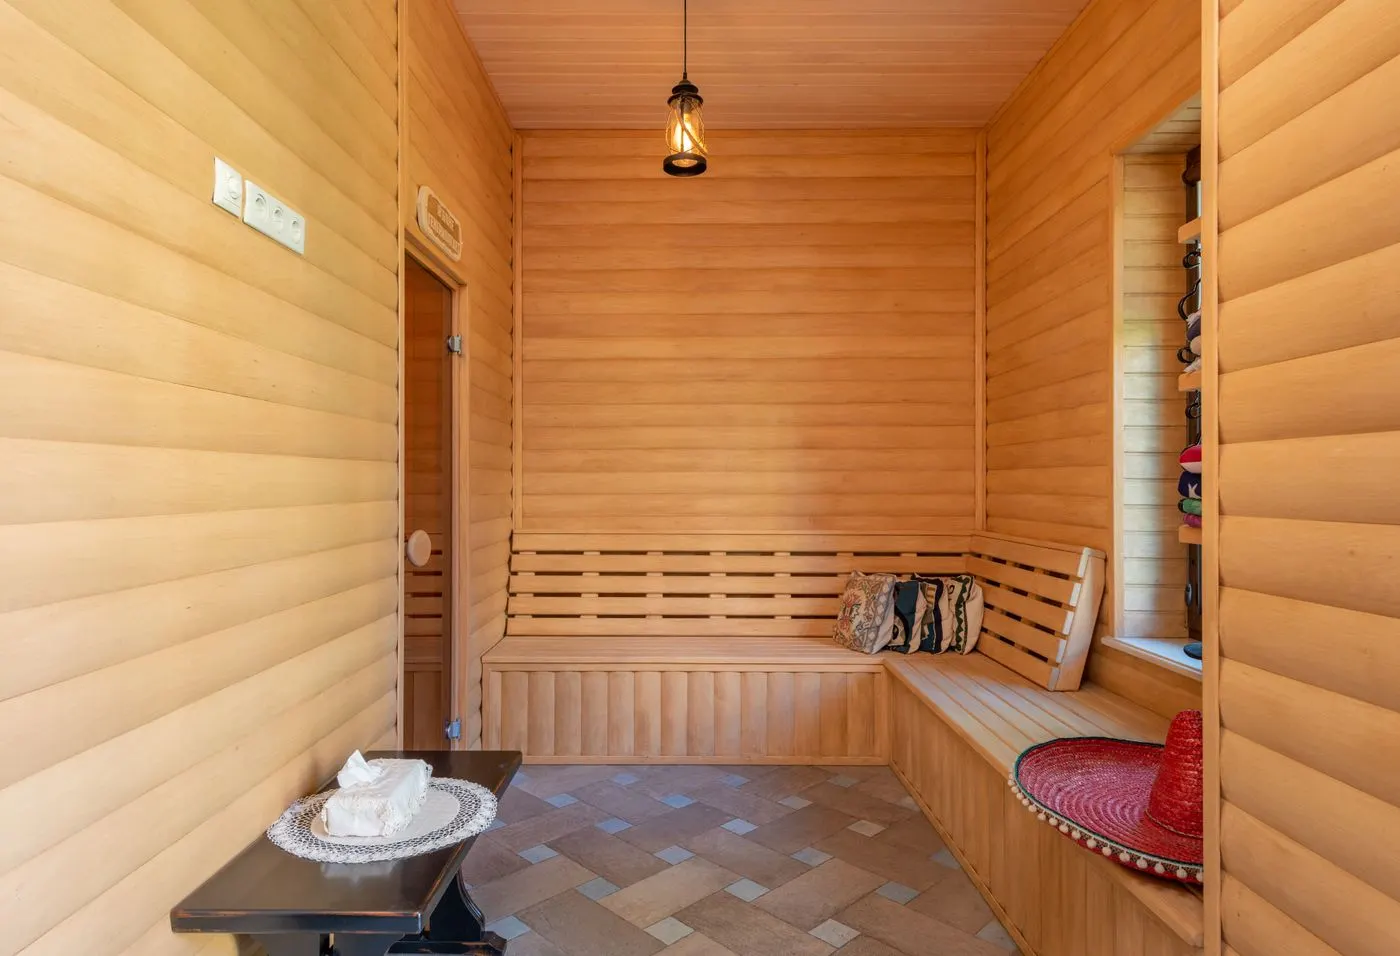
Install sauna interior wood as tongue-and-groove cladding over a small ventilated air gap in front of the sealed foil vapour barrier, using hidden or corrosion-resistant fixings that won't get hot against skin. Choose a cool-to-touch, low-resin wood, keep the air gap so the cladding can dry, and finish the hot room with bare wood or a sauna-specific treatment — never ordinary varnish. Good interior wood installation is about the air gap, the fixings and the right finish as much as the boards themselves.
The interior wood is the sauna you see, smell and touch — but installing it well is about more than nailing up nice boards. It’s the final layer of a cold-climate assembly, and it has to sit over an air gap, be fixed so no hot metal touches skin, and be finished in a way that survives sauna heat. Get these details right and the interior looks beautiful and lasts; get them wrong and you trap moisture or burn bathers on a screw head. This guide covers installing it properly.
Where the interior wood sits
The interior cladding is the innermost layer of the wall, and its position matters:
- Interior wood cladding (what you touch).
- A small ventilated air gap.
- Sealed foil vapour barrier.
- Insulation, then the rest of the wall.
The wood goes over the air gap, in front of the foil — not tight against the foil. That gap is essential.
The air gap: let the wood dry
A small ventilated air gap between the interior wood and the foil does two jobs: it lets the cladding dry after a steamy session, and it keeps the reflective foil working. Fixing the wood tight against the foil, with no gap, traps moisture and undermines the whole assembly. This mirrors the rain-screen gap on the outside — both let the wood breathe and dry. It’s a small detail with a big effect on durability, part of the air-gap and sealing details that make a wall perform.
Choose the right wood
Line the hot room with a cool-to-touch, low-resin wood — cedar, hemlock, spruce, aspen or thermowood — chosen for aroma, colour and comfort. Avoid standard resinous pine, which can weep pitch when hot and feel hotter to touch. See best wood for a sauna for the full comparison. Remember the interior wood is a different decision from the weather-facing exterior cladding.
Fixings: keep hot metal off skin
Use hidden or recessed, corrosion-resistant fixings. Two reasons:
- Exposed metal gets hot and can burn bare skin.
- Metal corrodes in the sauna’s humidity.
Tongue-and-groove cladding lends itself to concealed fixing, giving a smooth wood surface with no hot or rusting metal where people touch. This matters for both comfort and durability — nobody wants to lean against a hot screw head.
Finishing the hot room
The finish is a place people go wrong: in the hot room, use bare wood or a sauna-specific treatment — never ordinary varnish or sealants. Regular finishes can’t handle the heat and may off-gas or become sticky. Walls are often left bare; some use a light, sauna-appropriate protective treatment, especially on benches. The rule is simple: the finish must be intended for sauna heat and skin contact.
Installation, step by step
Once the insulation and sealed foil vapour barrier are in:
- Establish the air gap — battens over the foil to hold the cladding off it.
- Fix the tongue-and-groove cladding to the battens with hidden, corrosion-resistant fixings.
- Work neatly — the interior wood is what everyone sees.
- Detail around the door, window and heater cleanly.
- Finish with bare wood or a sauna-specific treatment.
Common mistakes
- Fixing the wood tight against the foil, with no air gap.
- Exposed metal fixings that get hot or corrode.
- Ordinary varnish or sealant in the hot room.
- Resinous pine against skin.
- Sloppy detailing at the openings and heater.
Next steps
Install the interior wood over a ventilated air gap in front of the sealed vapour barrier, with hidden fixings and a sauna-appropriate finish, using a cool-to-touch wood. It’s the final layer of the cold-climate wall — and, with the benches, the part you’ll enjoy every session.
Frequently asked questions
How is sauna interior wood installed?
As tongue-and-groove cladding fixed over a small ventilated air gap in front of the sealed foil vapour barrier, using hidden or recessed corrosion-resistant fixings. The air gap lets the cladding dry, the foil reflects heat and blocks moisture, and hidden fixings keep hot metal away from skin. Choose a cool-to-touch wood and finish with bare wood or a sauna-specific treatment.
Should there be an air gap behind sauna wood?
Yes — a small ventilated air gap between the interior wood and the foil vapour barrier is important. It lets the cladding dry after a steamy session and keeps the reflective foil working. Fixing the wood tight against the foil, with no gap, traps moisture and undermines the assembly. The air gap is a small but essential detail.
What fixings should I use for sauna cladding?
Hidden or recessed, corrosion-resistant fixings that won't get hot against bare skin — exposed metal in a sauna can burn and can corrode in the humidity. Tongue-and-groove cladding lends itself to concealed fixing. The goal is a smooth wood surface with no hot or rusting metal where people touch, which matters for both comfort and durability.
What finish should sauna interior wood have?
In the hot room, bare wood or a sauna-specific treatment — never ordinary varnish or sealants, which can't handle the heat and can off-gas or become sticky. Some use a light sauna-appropriate protective treatment, especially on benches; walls are often left bare. The key is that the finish must be intended for sauna heat and skin contact.
Which wood should line a sauna interior?
A cool-to-touch, low-resin wood — cedar, hemlock, spruce, aspen or thermowood — chosen for aroma, colour and comfort. Avoid standard resinous pine, which can weep pitch and feel hot. See our guide on the best wood for a sauna. The interior wood is a different decision from the weather-facing exterior cladding.
Can I install sauna cladding myself?
Yes — installing tongue-and-groove interior cladding is achievable for a competent DIY builder, once the air gap, foil vapour barrier and insulation are in place. Work neatly with hidden fixings, keep the air gap, and finish appropriately. The main thing is to install it as part of the correct layered assembly, not tight against the foil with no gap.