Safe winter access to an outdoor sauna comes down to two things: light and footing. Light the path and entrance so you can see ice and steps after dark, and keep the route cleared of snow and gritted or sanded against ice. Plan short, direct, well-drained paths, and re-clear after snowfall. A slip on a dark, icy path — often warm and relaxed after a session — is one of the most real winter sauna risks, and the easiest to prevent.
The most underestimated winter sauna hazard isn’t the heat or the fire — it’s the walk. You cross the yard after dark, warm and relaxed (and often lightly dressed) after a session, sometimes to and from a cold plunge. On hidden ice, that’s exactly when a fall happens. Two simple things prevent it: light and footing.
Light the way
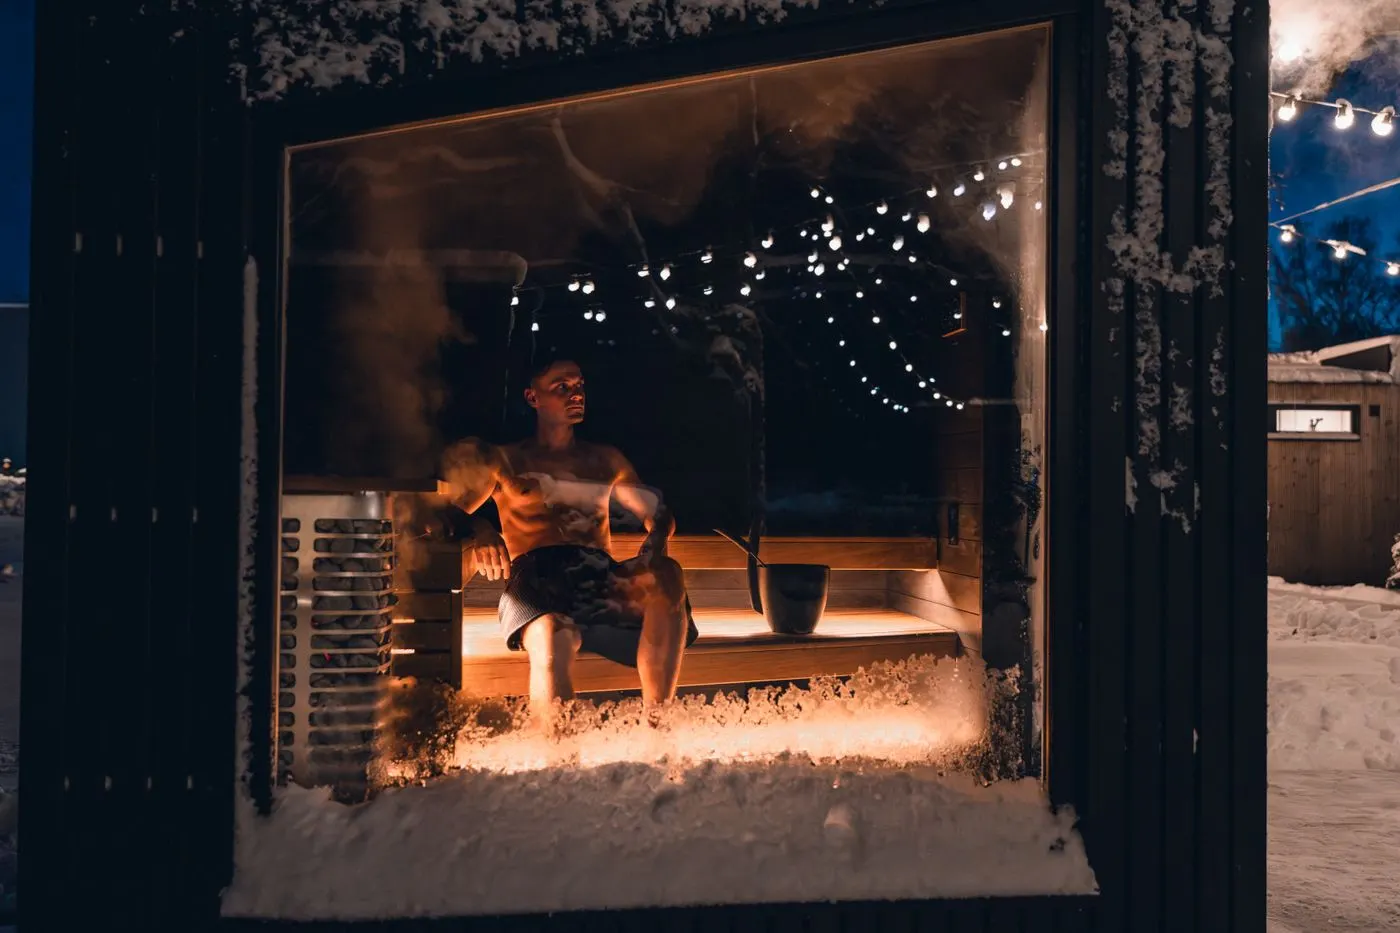
You’ll use an outdoor sauna after dark all winter, so you need to see the route, the steps, any ice and the door. Practical lighting:
- Path lights along the route.
- A light at the entrance and any steps.
- Enough steady, glare-free light to see ice and footing clearly.
This is a safety essential, not decoration. Any outdoor wiring must be installed to code by a licensed electrician.
Keep the footing safe
The other half is the path surface:
- Clear snow after snowfall, before it packs into ice.
- Grit or sand against ice on the route, steps and around the door.
- Keep the path short, direct and well-drained so water flows away rather than pooling and freezing.
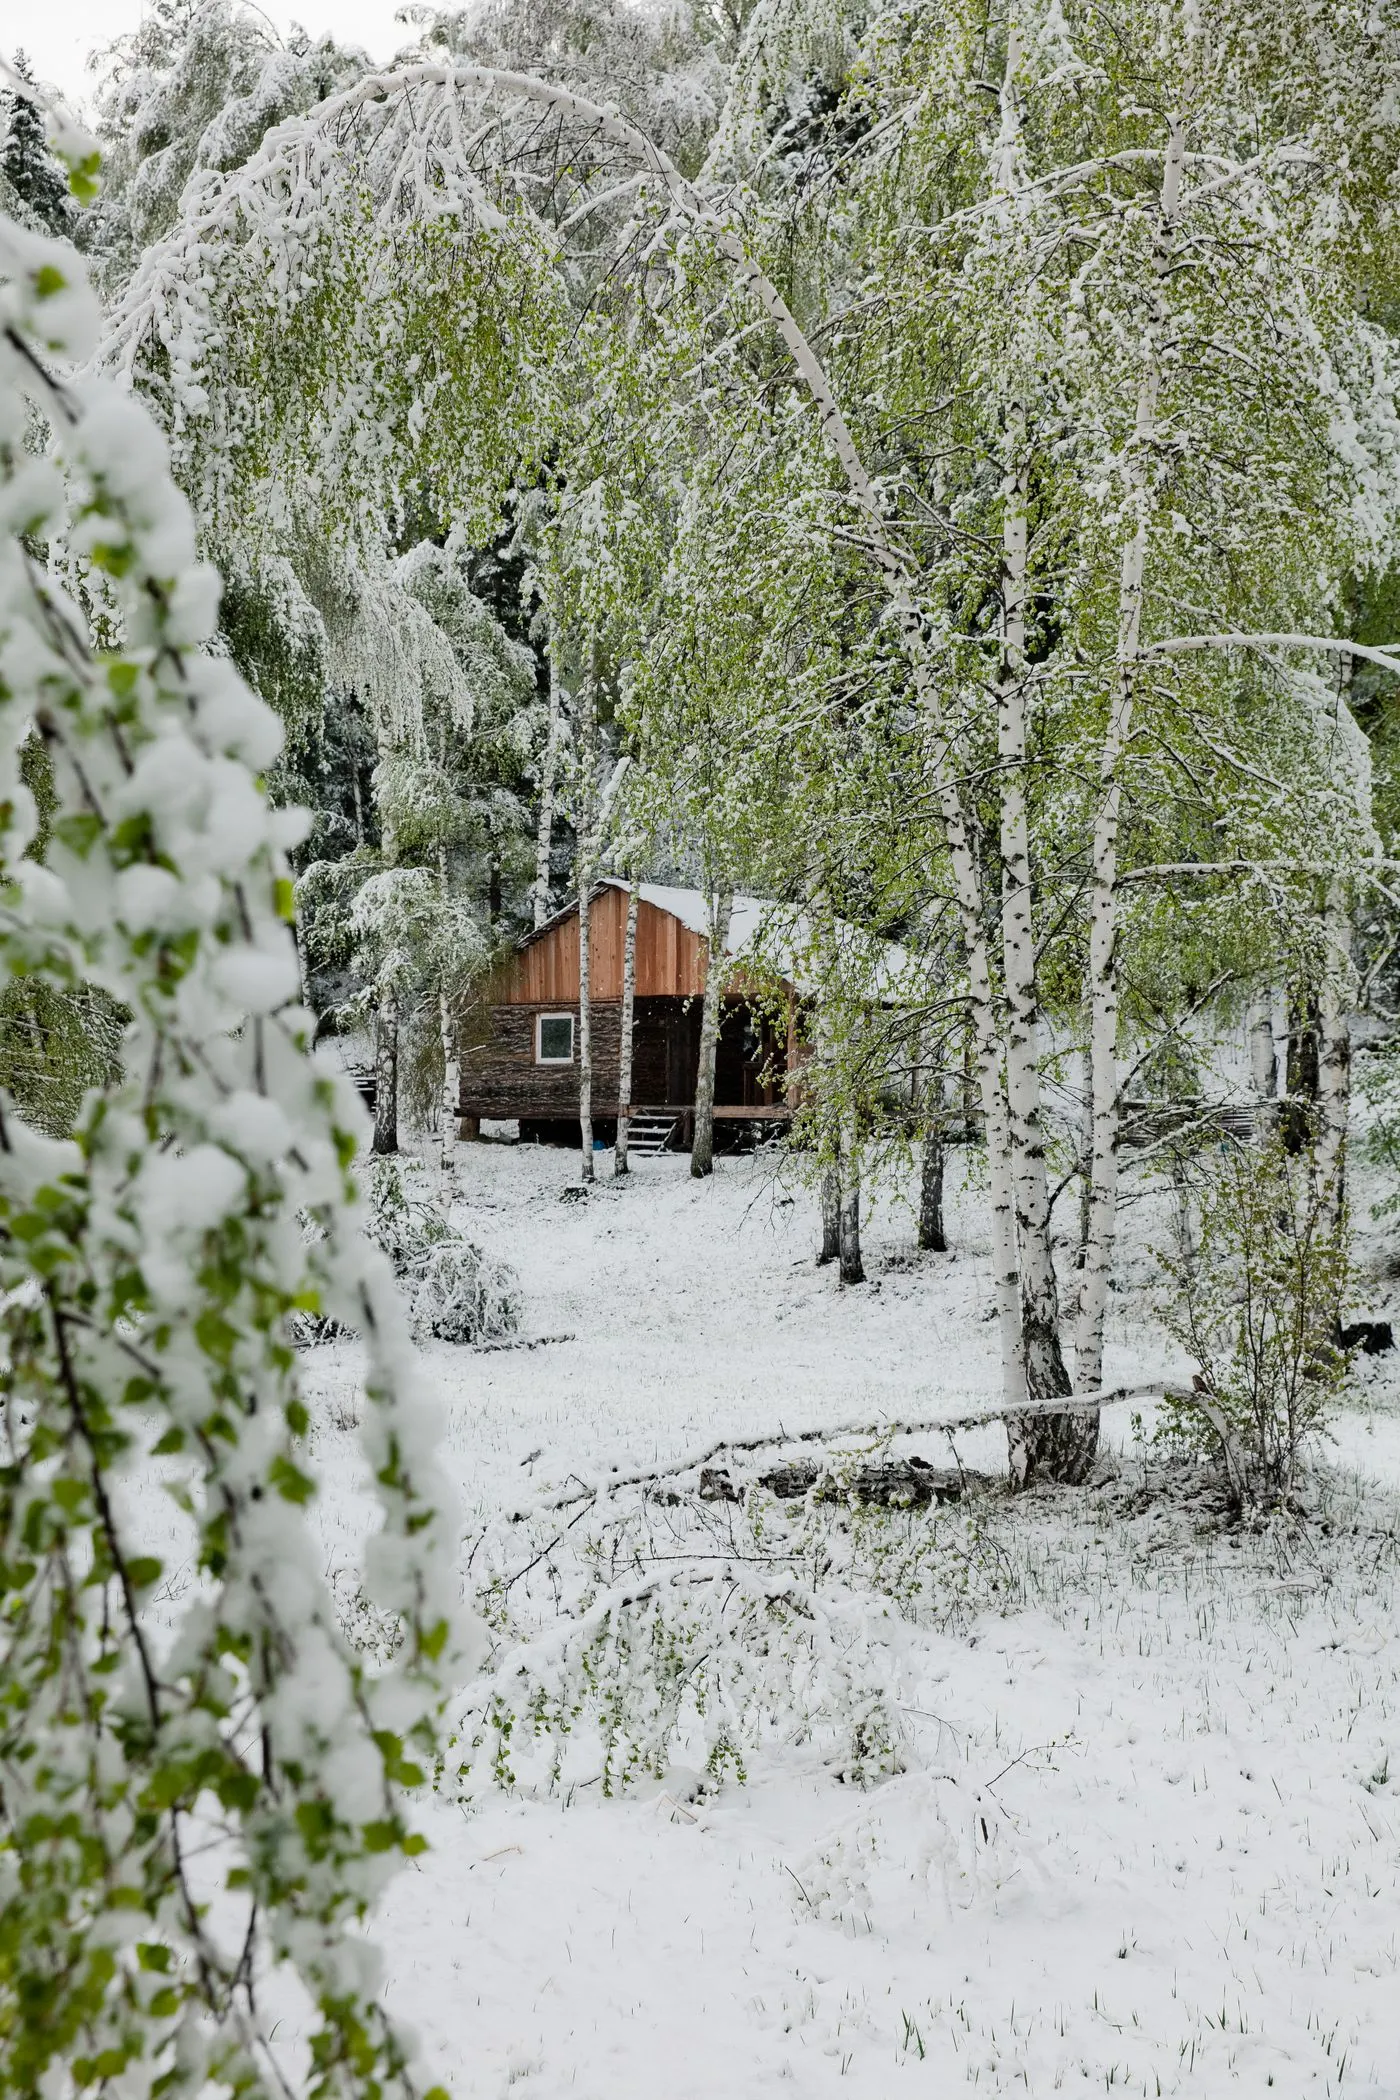
A well-drained, regularly cleared path ices far less than a low, wet one — persistent ice usually means water is collecting somewhere it shouldn’t.
Plan it at siting
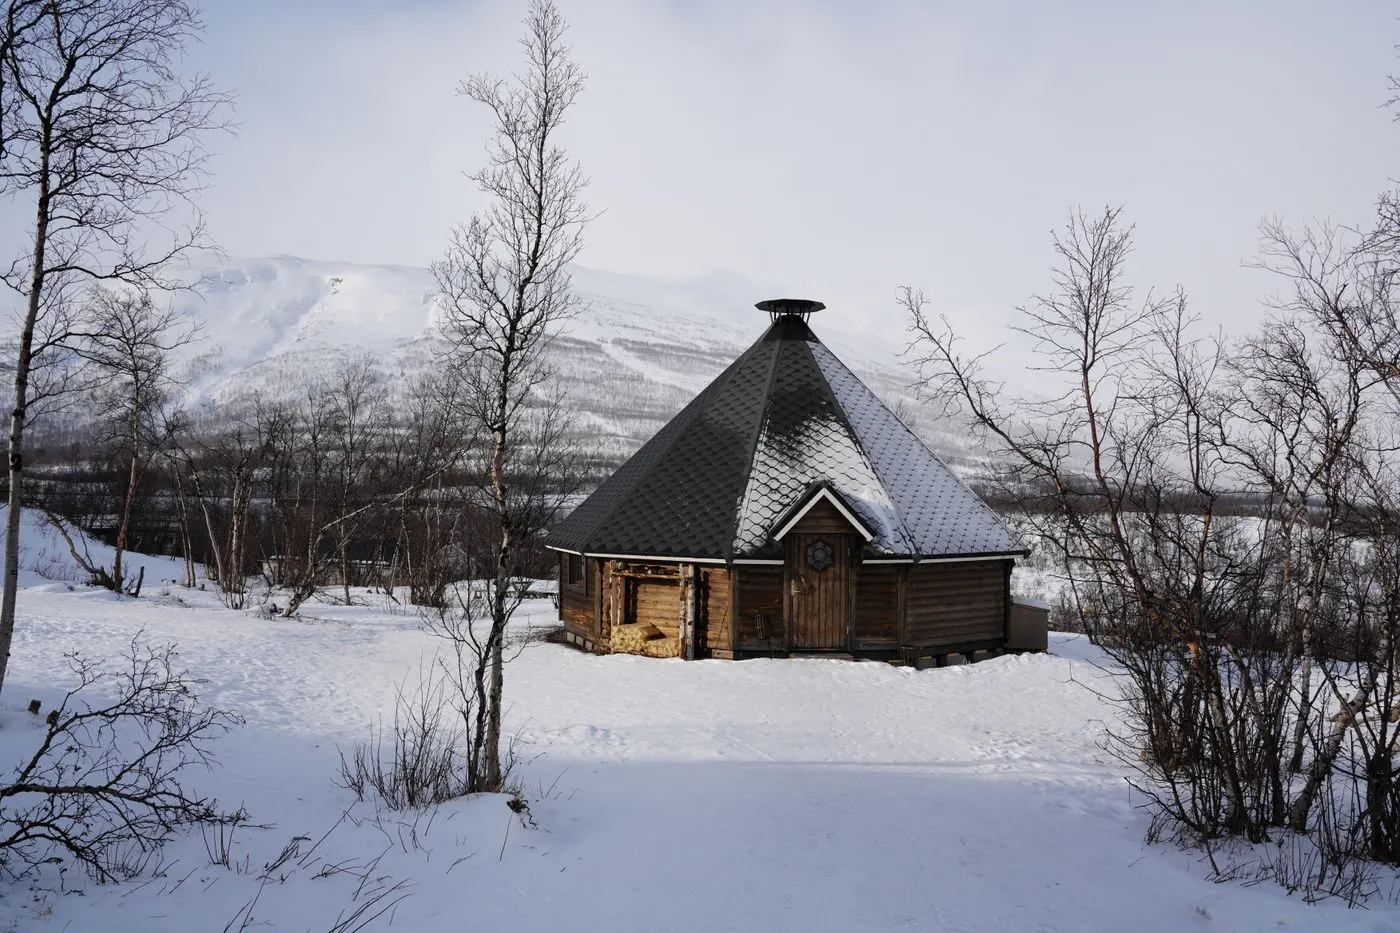
The easiest winter access is designed in when you site the sauna: a short, sheltered, well-drained route between the house and the sauna, with the door away from drifting snow. A long, dark, exposed path is a chore to clear and a hazard to walk. If you can, plan the path — and its lighting and drainage — before you build.
After the session
Remember that you’re often at your most vulnerable leaving the sauna: warm, relaxed, maybe a little unsteady, stepping onto cold ground. Take the icy walk seriously even when you feel great, and keep the return route as safe as the way out. Never let alcohol into that mix — see the safety guidance.
Powering and placing outdoor lighting
Outdoor lighting has to survive the same weather, cold and moisture as the rest of the sauna, so any wired lighting and its supply must be suitable for outdoor use and installed by a licensed electrician to code — this isn’t a place to improvise, and it ties into protecting the electrical system in winter. It needn’t be elaborate: the goal is enough soft, even light to see the path, the steps and the entry safely on a dark winter evening, not floodlighting. Place lights to reveal trip and slip hazards — the edges of steps, changes in level, the cold-plunge approach — and avoid glare that dazzles rather than helps. Solar or low-voltage options can work for a simple path where a full wired run isn’t practical, provided they give reliable light in deep winter. Combined with cleared, non-slip footing and slip-and-fall prevention, good lighting is what makes the winter approach genuinely safe.
Common mistakes
- An unlit path you navigate by feel in the dark.
- Letting snow pack into ice instead of clearing it.
- A long, low, wet route that ices repeatedly.
- DIY outdoor wiring for lights instead of a licensed electrician.
Next steps
Light the route, keep it cleared and gritted, and plan a short, drained path when you site the sauna. It’s simple, cheap winter safety — and it prevents the most common outdoor sauna injury. See the broader safety essentials too.
Frequently asked questions
How do I keep the path to my sauna safe in winter?
Clear snow from the route after snowfall and grit or sand it against ice, keep the path short, direct and well-drained so water doesn't pool and freeze, and light it well. The goal is that you can see and safely walk the route after dark, warm and relaxed, without slipping.
Do I need lighting for an outdoor sauna?
In a Canadian winter, effectively yes — you'll use the sauna after dark, and you need to see the path, steps, ice and the door. Light the route and the entrance. It's a safety essential, not a luxury, especially where there are steps, a deck or a cold-plunge access point.
How do I stop the path icing up?
Grade and drain the path so water flows away rather than pooling and freezing, clear snow promptly before it packs down, and grit or sand against ice. A well-drained, regularly cleared path ices far less than a low, wet one. Persistent ice usually means water is collecting somewhere.
Why are icy paths such a sauna risk?
Because you walk them after dark, often warm, relaxed and lightly dressed after a session, sometimes to and from a cold plunge — conditions where a slip on hidden ice is both likely and potentially serious. It's one of the most real and most preventable outdoor sauna hazards in winter.
What lighting is best for a sauna path?
Enough steady, glare-free light to see the path, steps and door clearly — low path lights, a wall light at the entrance, or similar. Any outdoor wiring must be installed to code by a licensed electrician. The aim is safe visibility of the route and any ice, not a bright spectacle.