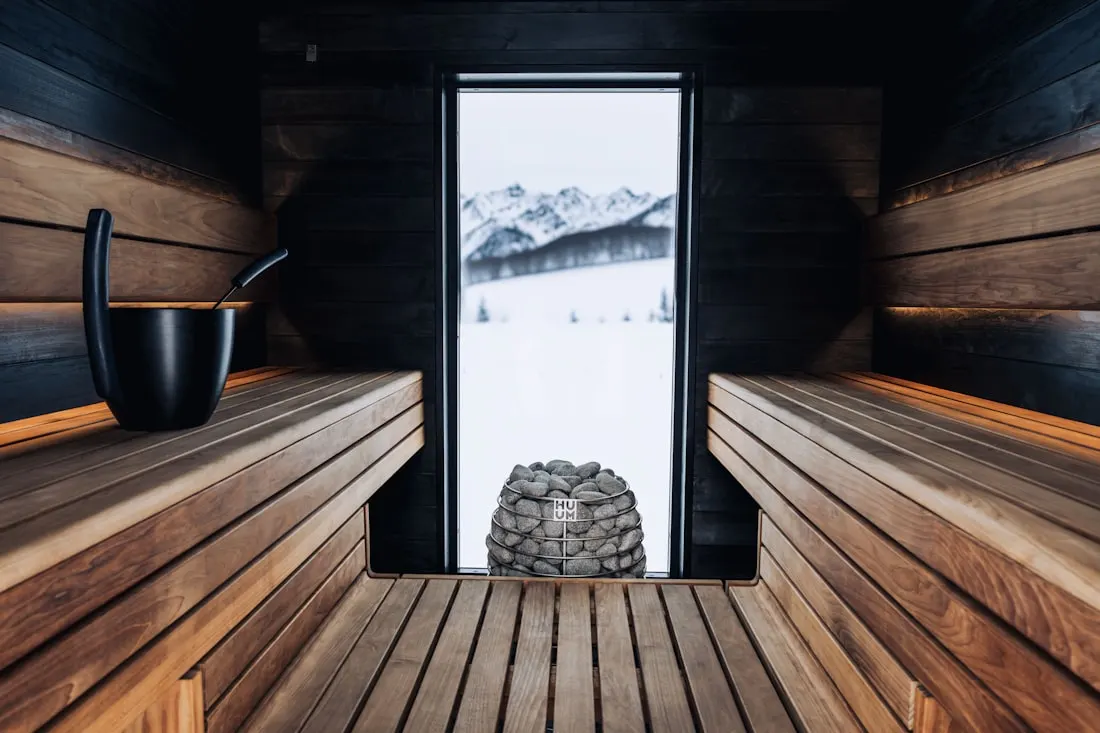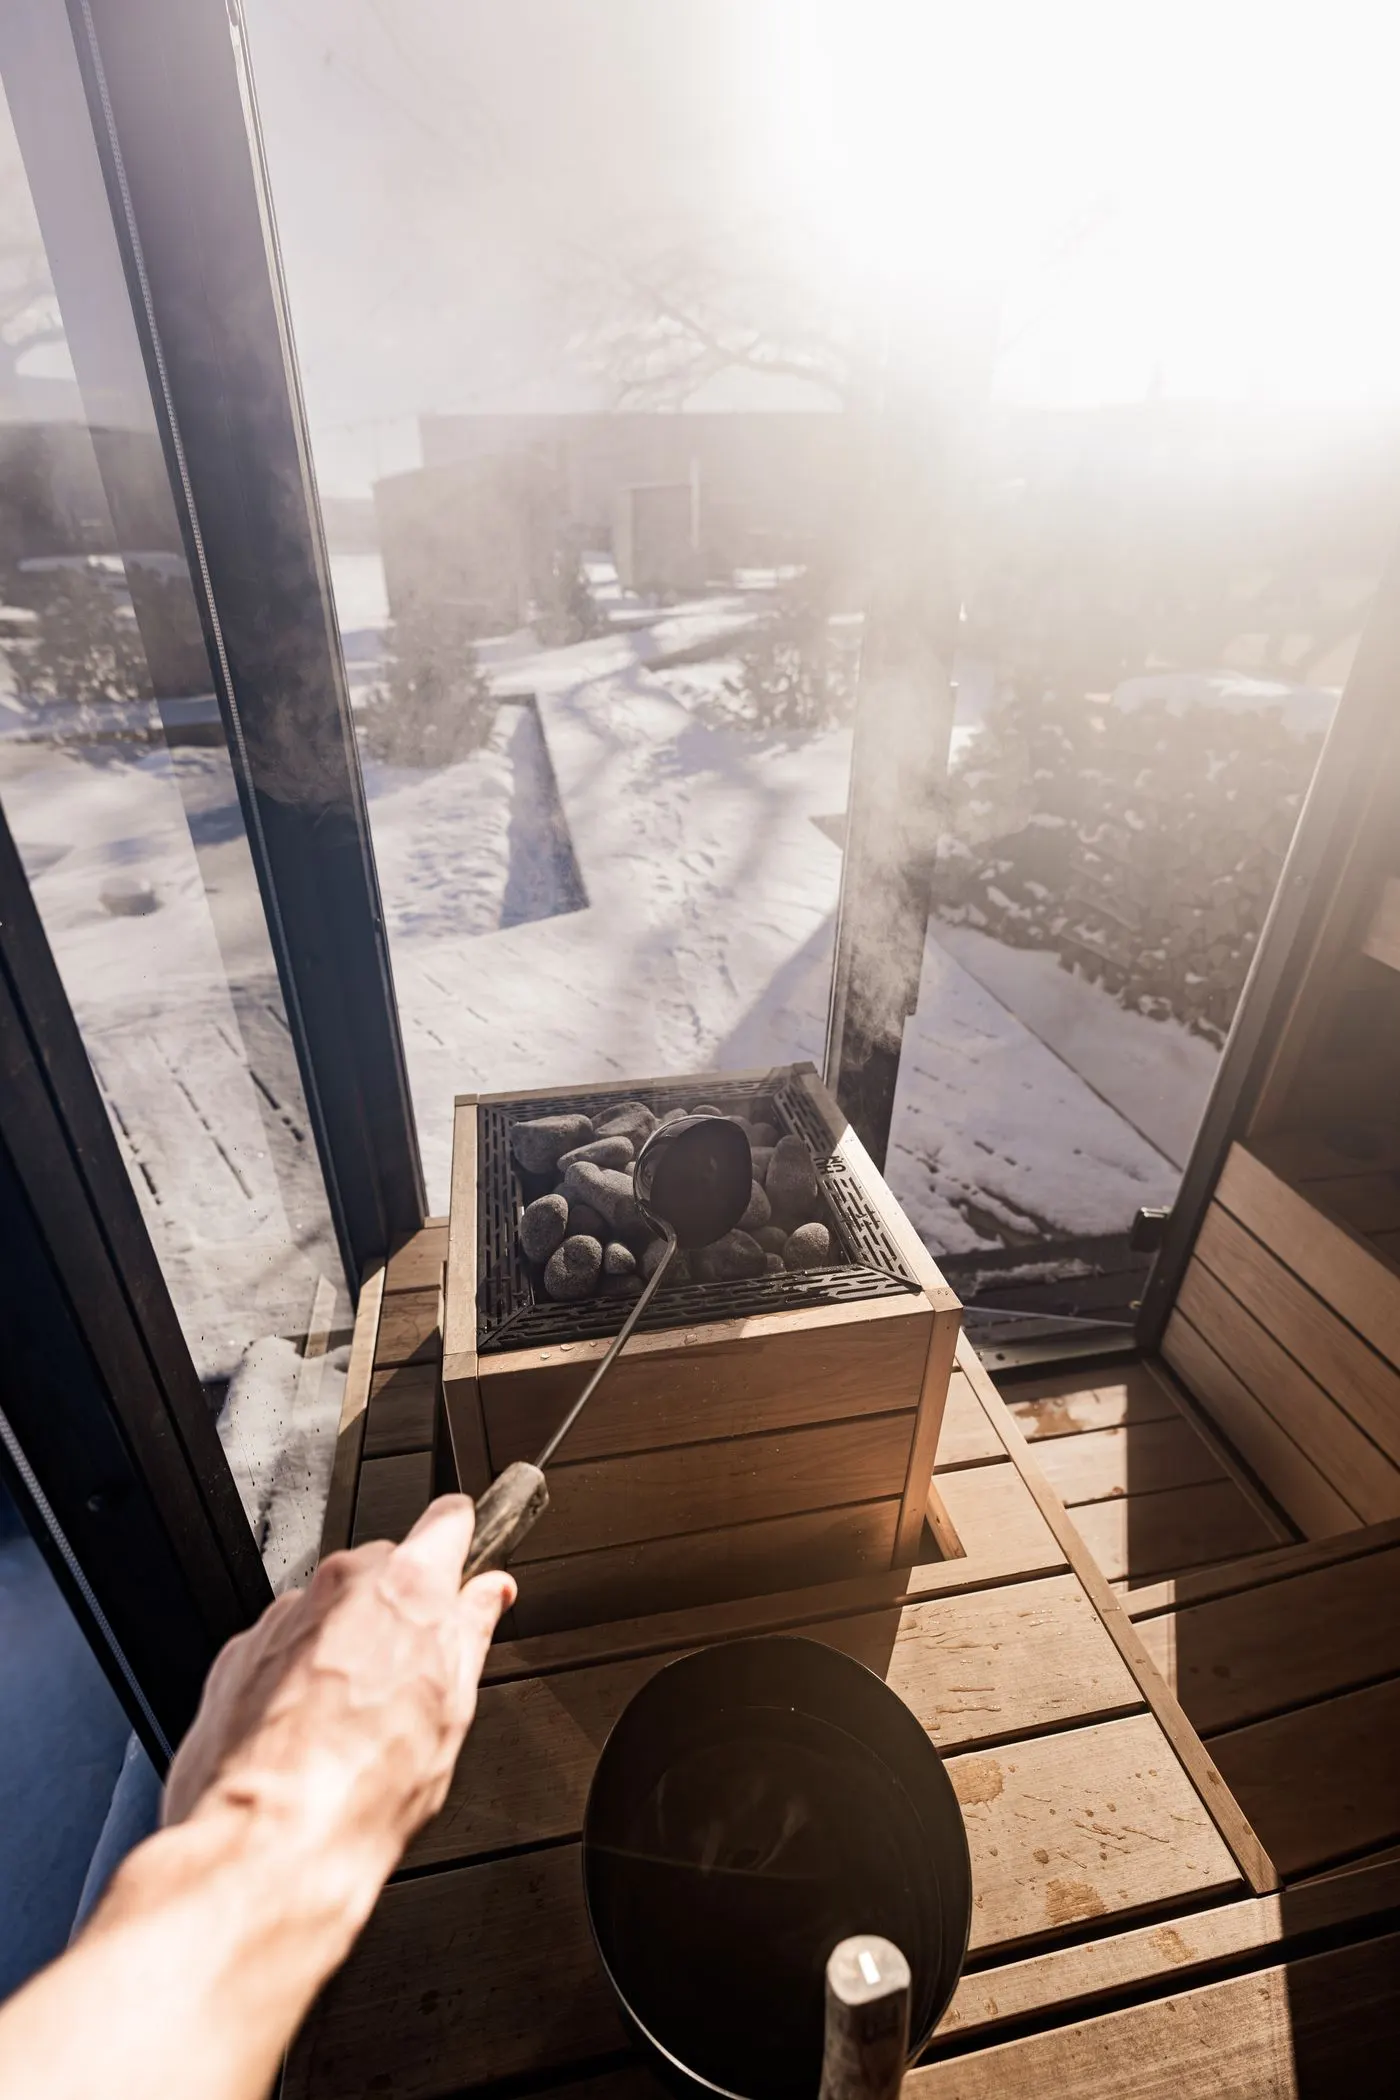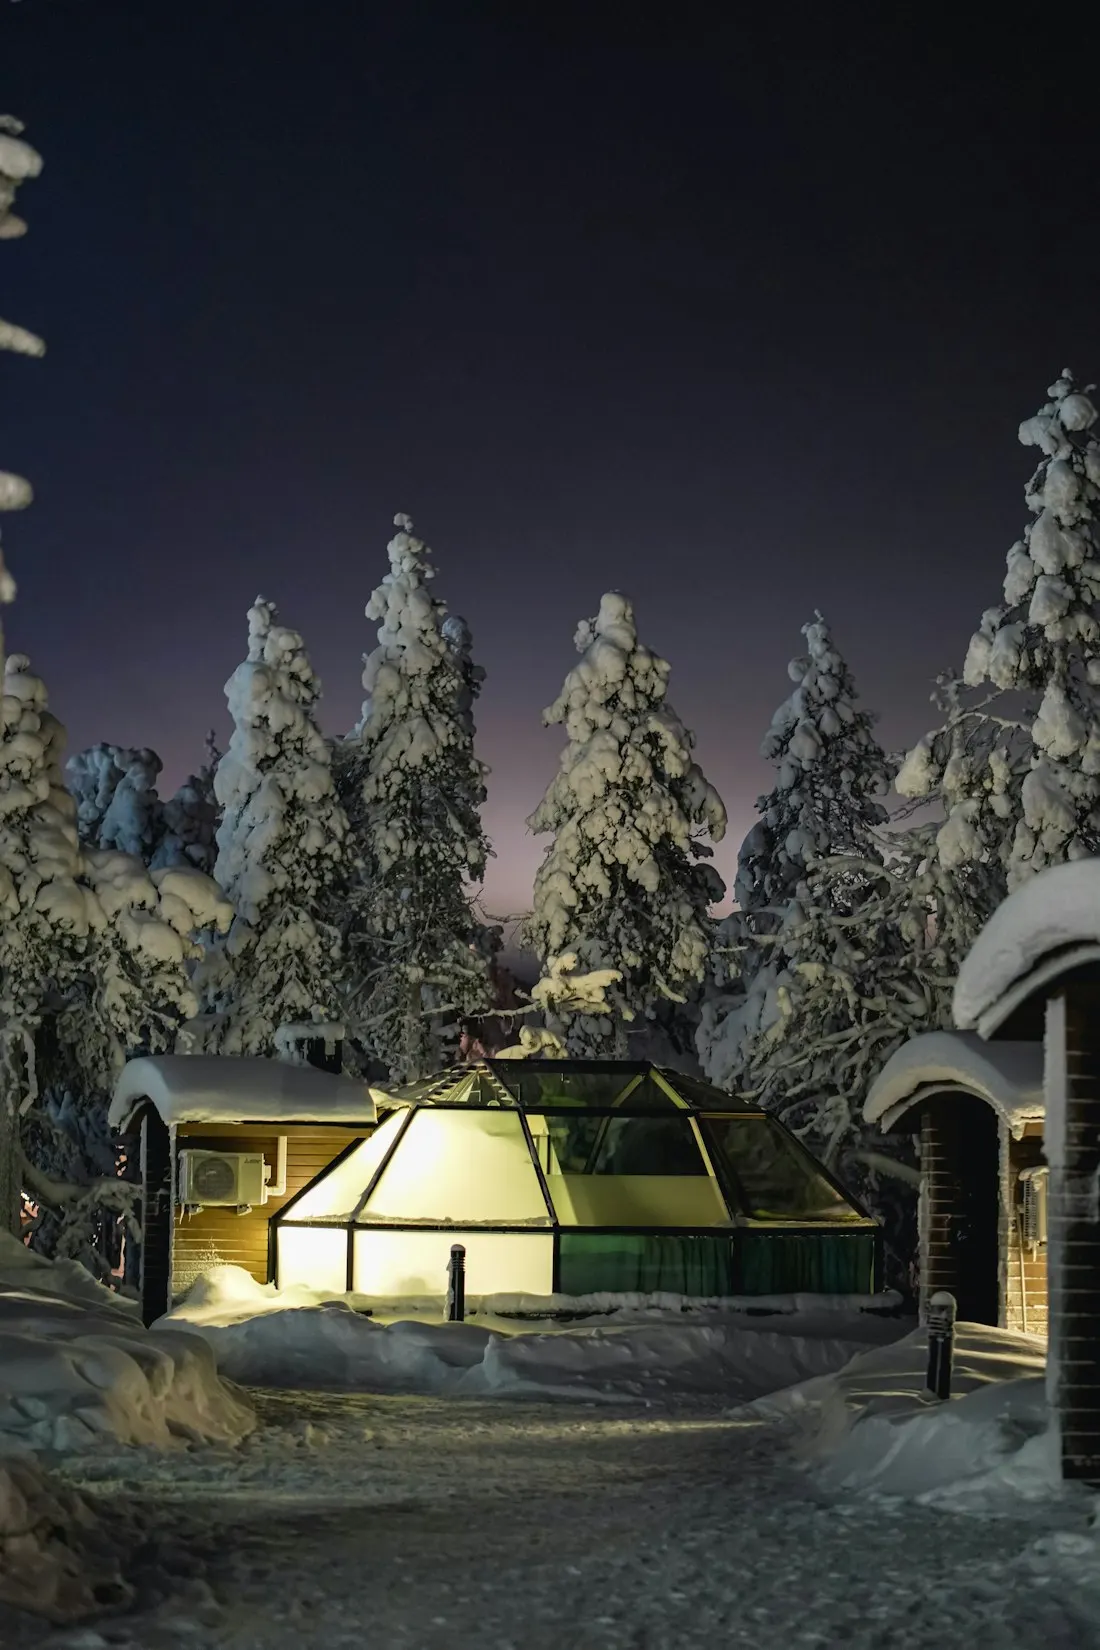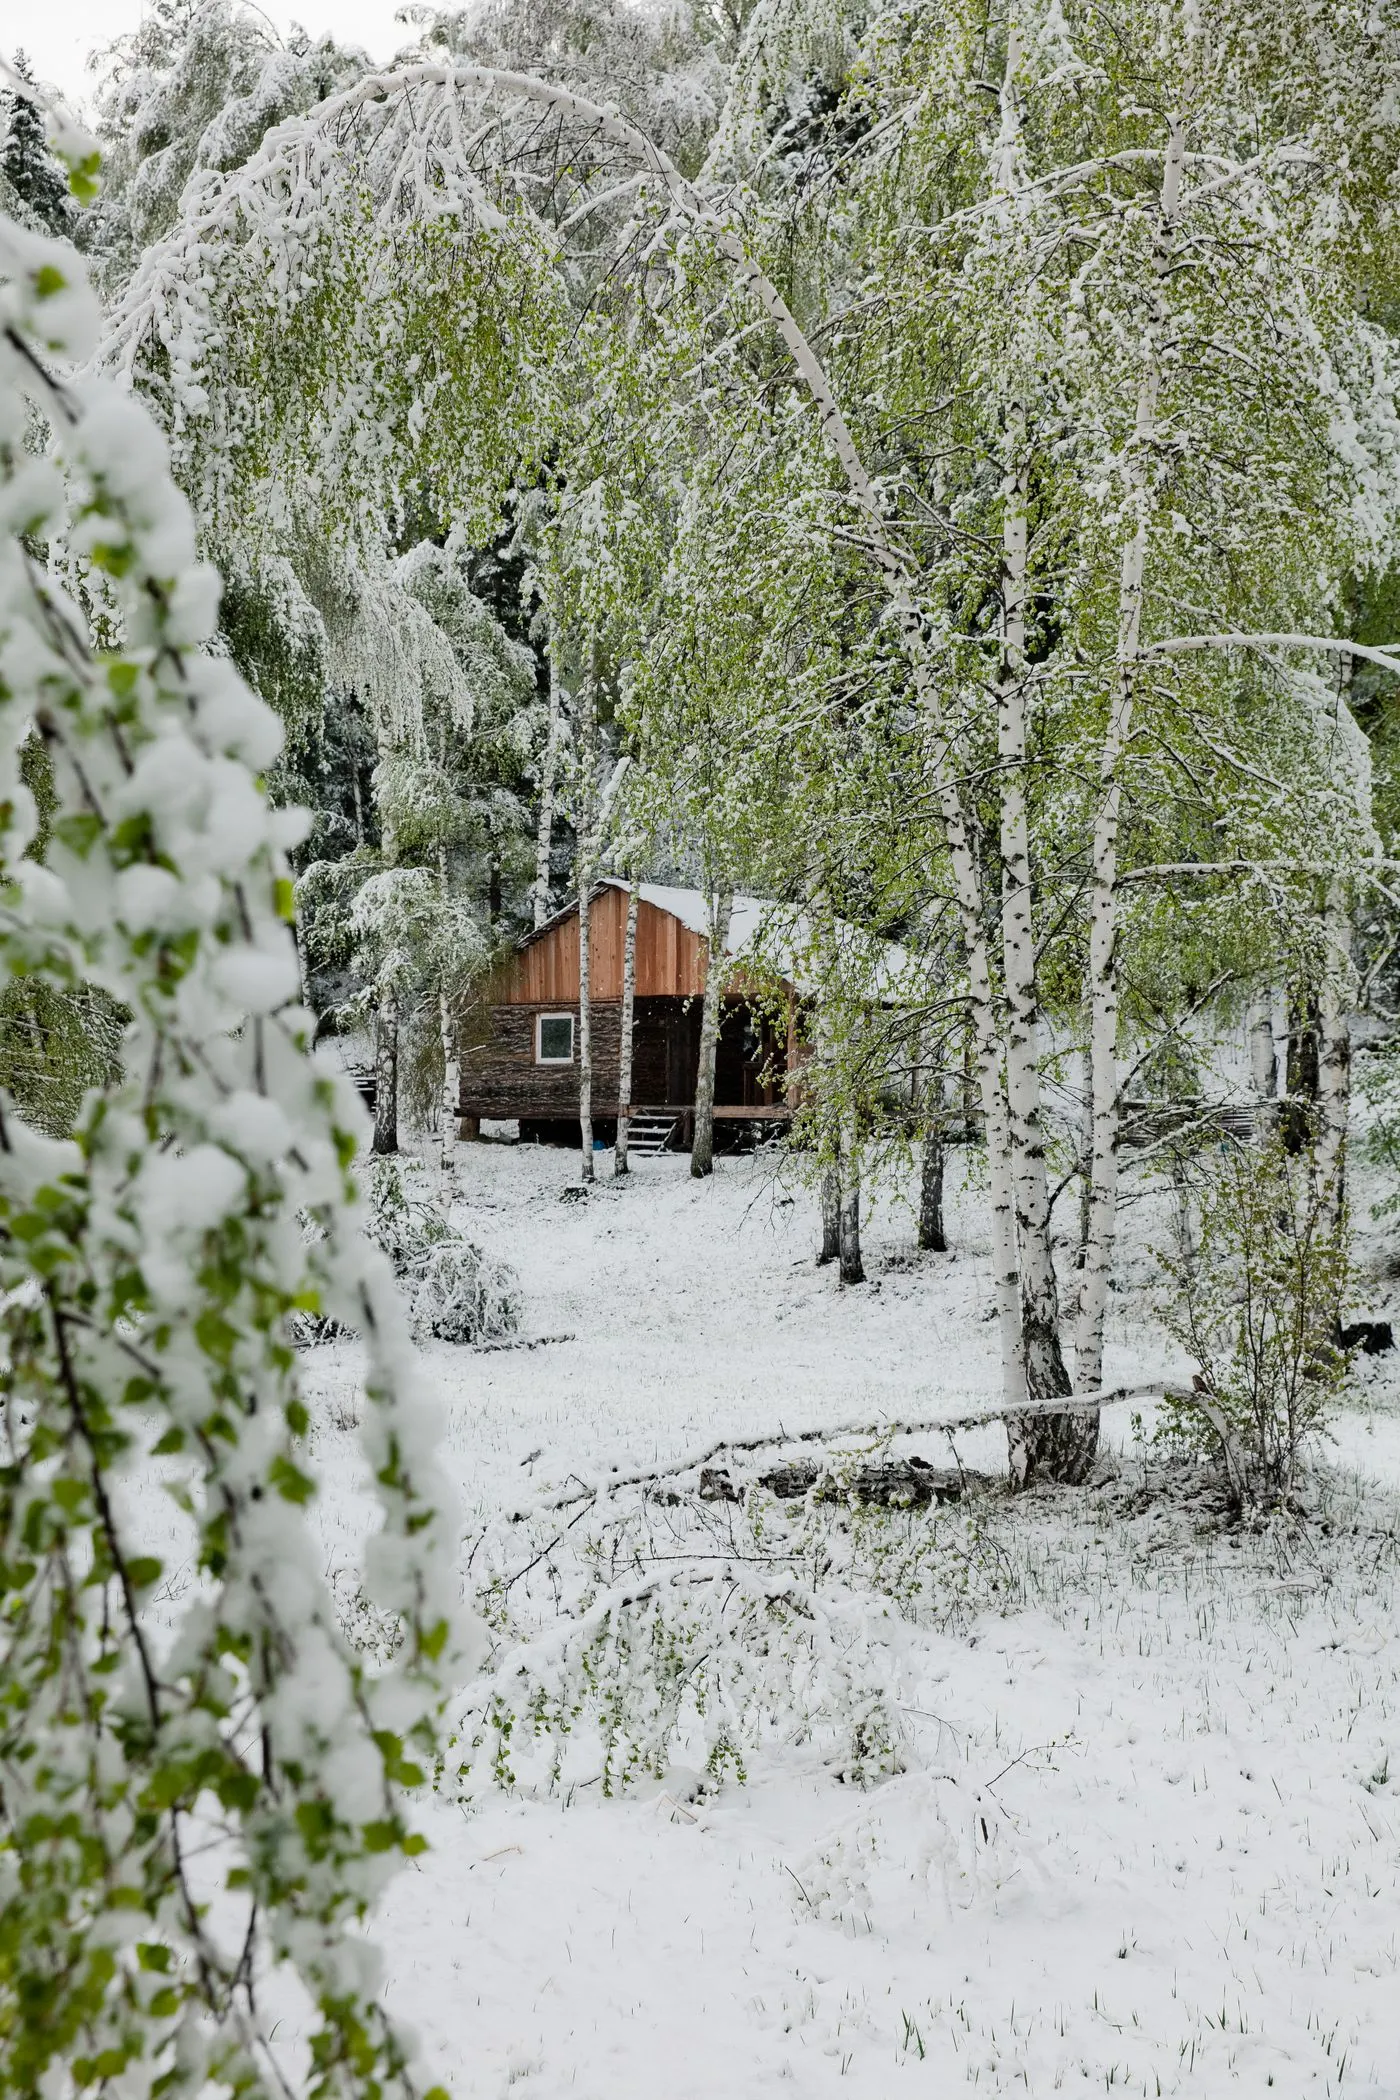
A cabin-style sauna — a standard framed, insulated room, often the most common outdoor build — is well suited to conventional ventilation: a fresh-air intake low near the heater and an adjustable exhaust on the opposite wall, higher up, following the heater manufacturer's guidance. The cabin's roomy, square shape makes it easy to separate the intake and exhaust for good circulation. If the cabin includes a changing area or porch, ventilate the hot room on its own terms and let the changing room breathe separately. Overall, a cabin is one of the most straightforward shapes to ventilate well.
The cabin sauna — a proper framed, insulated room, often with a changing area — is the most common outdoor build for good reason: it’s roomy, comfortable, and easy to ventilate well. Its square shape and full walls give you clear opposite surfaces to place the intake and exhaust, so conventional circulation falls into place naturally. This guide covers ventilating a cabin build, including the changing area.
Why a cabin is easy to ventilate
A cabin sauna has conventional geometry: square footprint, full walls, a roomy interior. That gives you exactly what good ventilation wants — clear opposite walls to separate the intake and exhaust so air circulates across the room. Compared with tighter or oddly shaped builds, a cabin is forgiving to lay out. Get the standard pair in place and it works.
The intake and exhaust
Use the conventional ventilation pair:
- Fresh-air intake — low, near or beneath the heater, so incoming air is warmed and feeds convection.
- Adjustable exhaust — on the opposite wall, higher up, to draw warm, stale, moist air across and out.
This separation drives the circulation. Follow the heater manufacturer’s guidance for exact placement — but the cabin’s clear opposite walls make the layout simple.
Handling a changing area or porch
Many cabins include a changing room or covered porch. These spaces don’t get sauna-hot, so:
- Ventilate the hot room on its own terms — the intake-and-exhaust pair — as the priority.
- Let the changing area breathe separately; it has different needs.
- Keep the changing room dry and aired, since it sees moisture from wet bathers.
Treat the hot room’s ventilation as the main job, and give the changing space its own modest airflow.
Troubleshooting a stuffy or damp cabin
A cabin is easy to ventilate, so problems almost always trace to a vent or habit, not the shape:
- Intake missing, blocked or misplaced?
- Exhaust missing, shut, or unused?
- Are you opening the exhaust while bathing and drying after use?
See fixing poor ventilation to work through it.
Do you need a fan?
Almost never. A cabin’s roomy, square shape is ideal for passive ventilation — the well-separated intake and exhaust move plenty of air by convection. Set up the passive pair and dry after use; a fan is only for uncommon, specific constraints.
Common mistakes
- Intake and exhaust on the same wall, killing cross-circulation.
- Blocking the intake to hold heat.
- Forgetting the changing room needs its own airflow.
- Not drying the hot room after use.
- Assuming a fan is needed in a shape ideal for passive.
Next steps
A cabin gives you the easiest canvas for good ventilation: place the intake low near the heater and an adjustable exhaust on the opposite wall higher up, per your heater’s guidance, and let the changing area breathe separately. Add the drying habit and a cabin stays fresh, even and comfortable.
Frequently asked questions
How do you ventilate a cabin sauna?
With the conventional pair: a fresh-air intake low near the heater and an adjustable exhaust on the opposite wall, higher up, so air circulates across the room. Follow the heater manufacturer's guidance for exact placement. A cabin's roomy, square shape makes it easy to separate intake and exhaust for good circulation, so a cabin is one of the most straightforward builds to ventilate well.
Where do the vents go in a cabin sauna?
The intake goes low, near or beneath the heater, so incoming air is warmed and feeds convection; the exhaust goes on the opposite wall and higher, to draw warm, stale, moist air across and out. This separation of intake and exhaust drives circulation. The cabin's proper walls and roomy footprint make placing them well easy. Follow the heater's guidance for the specifics.
Does a cabin sauna with a changing room need special ventilation?
Ventilate the hot room on its own terms — intake near the heater, adjustable exhaust opposite and higher — and let the changing area or porch breathe separately, since it doesn't get sauna-hot. Keep the changing room dry and aired too, as it sees moisture from wet bathers. The two spaces have different needs, so treat the hot room's ventilation as the priority and give the changing room its own airflow.
Is a cabin sauna easier to ventilate than a barrel sauna?
In some ways, yes — a cabin's square, roomy shape gives you clear opposite walls to separate the intake and exhaust, which makes conventional circulation easy to set up. A barrel's round shape works fine too but places vents on curved surfaces at the ends. Both ventilate well with the intake-and-exhaust pair; the cabin's conventional geometry is simply very forgiving to lay out.
Why is my cabin sauna stuffy or damp?
Usually a ventilation or drying issue, not the cabin itself. Check the intake exists low near the heater and isn't blocked, the exhaust opens fully on the opposite wall higher up, and that you open the exhaust while bathing and after use to dry the room. A cabin is easy to ventilate well, so stuffiness or damp almost always traces to a missing, blocked or unused vent, or skipped drying.
Do I need a fan in a cabin sauna?
Rarely. A cabin's roomy, square shape is ideal for passive ventilation — the intake and exhaust, well separated on opposite walls, move plenty of air by convection with no fan. Set up the passive pair properly and dry after use. A fan is worth considering only if some specific constraint defeats passive means, which is uncommon in a well-laid-out cabin.