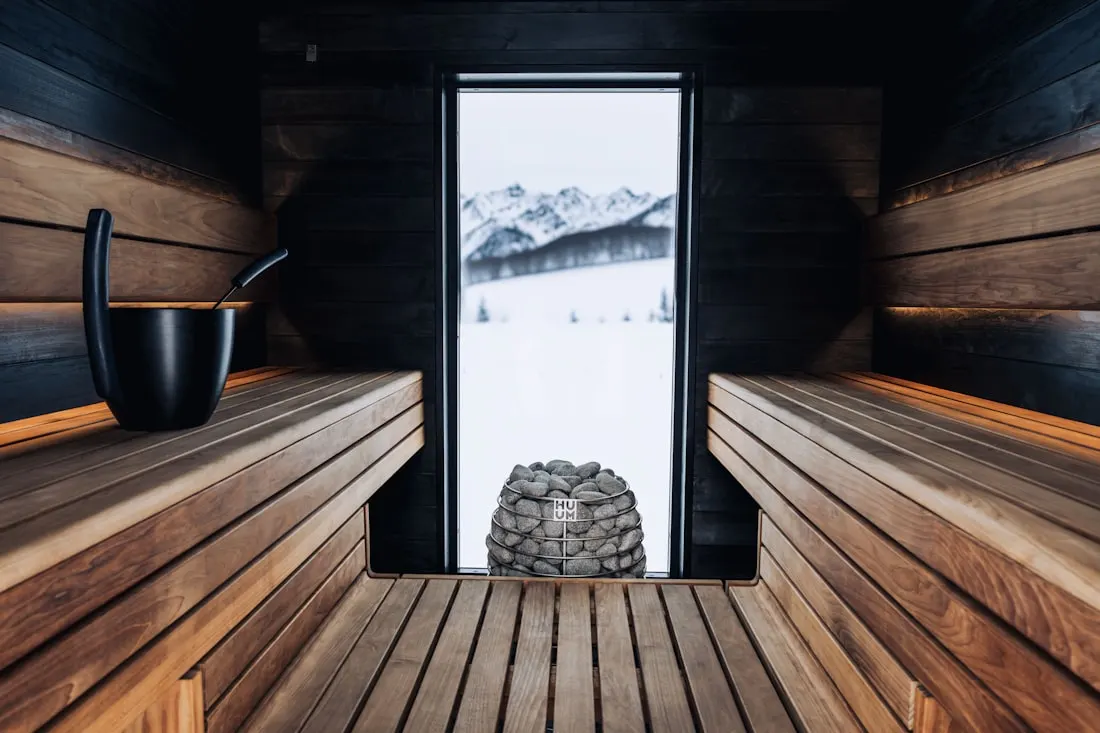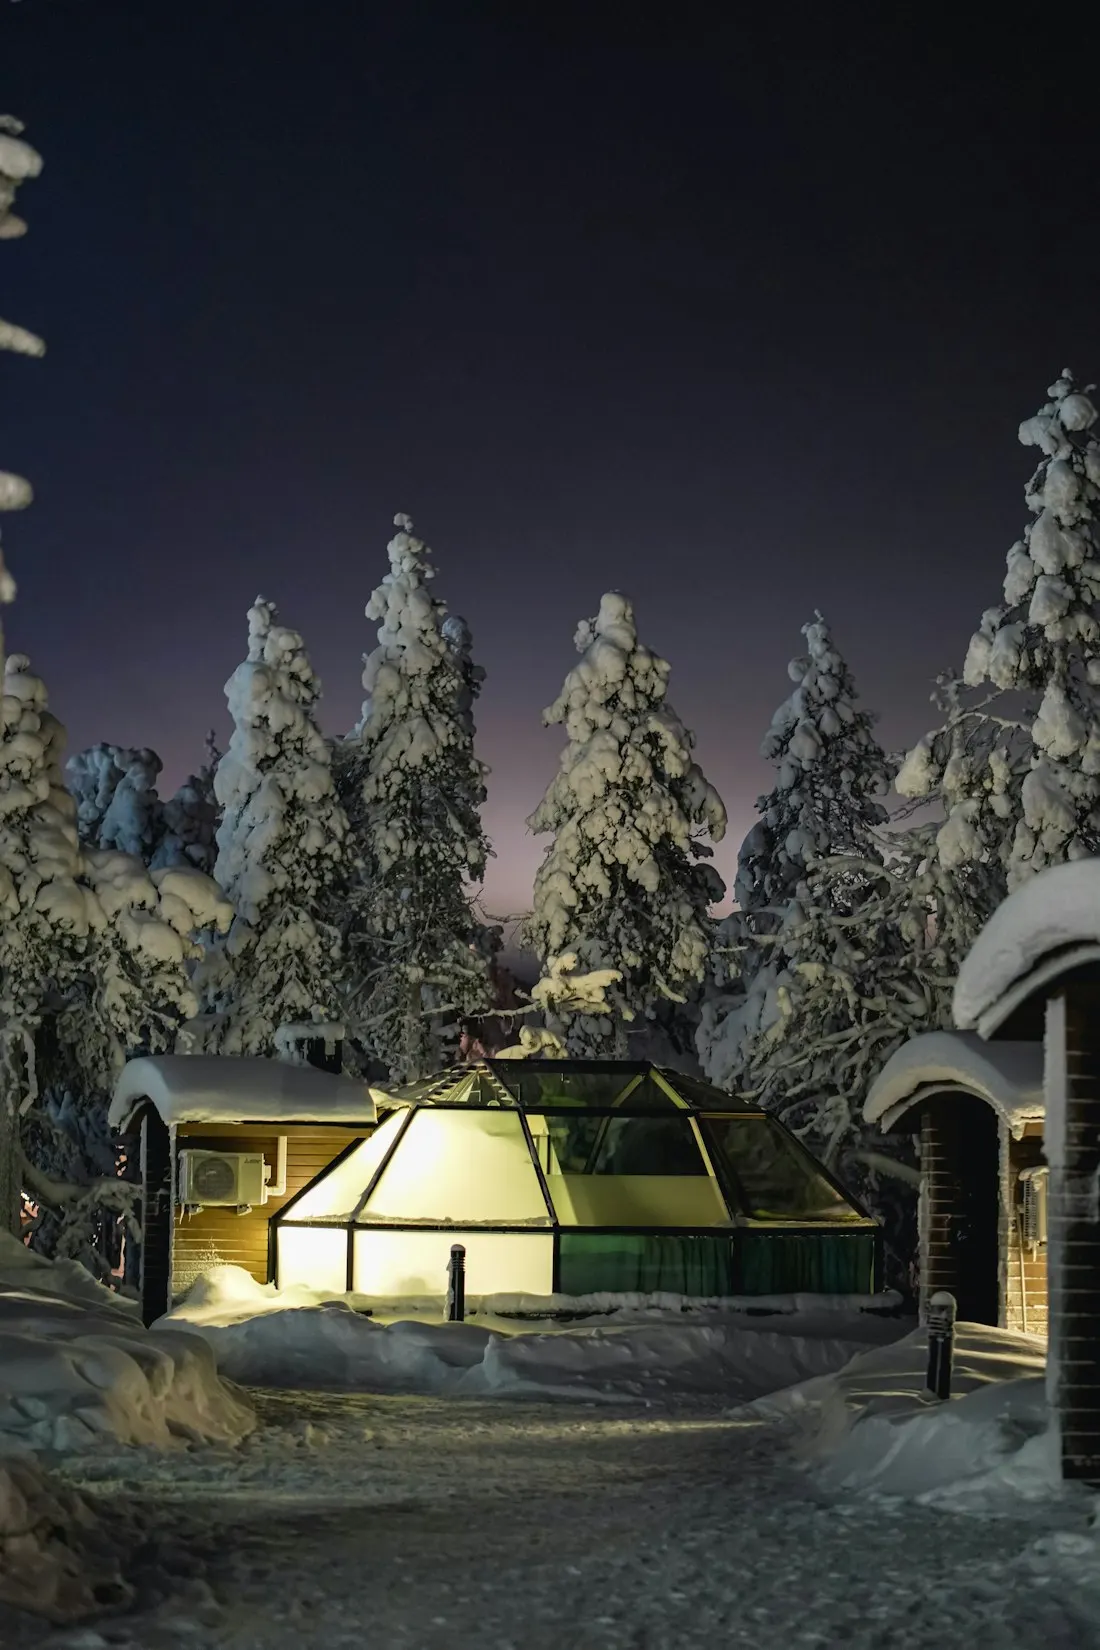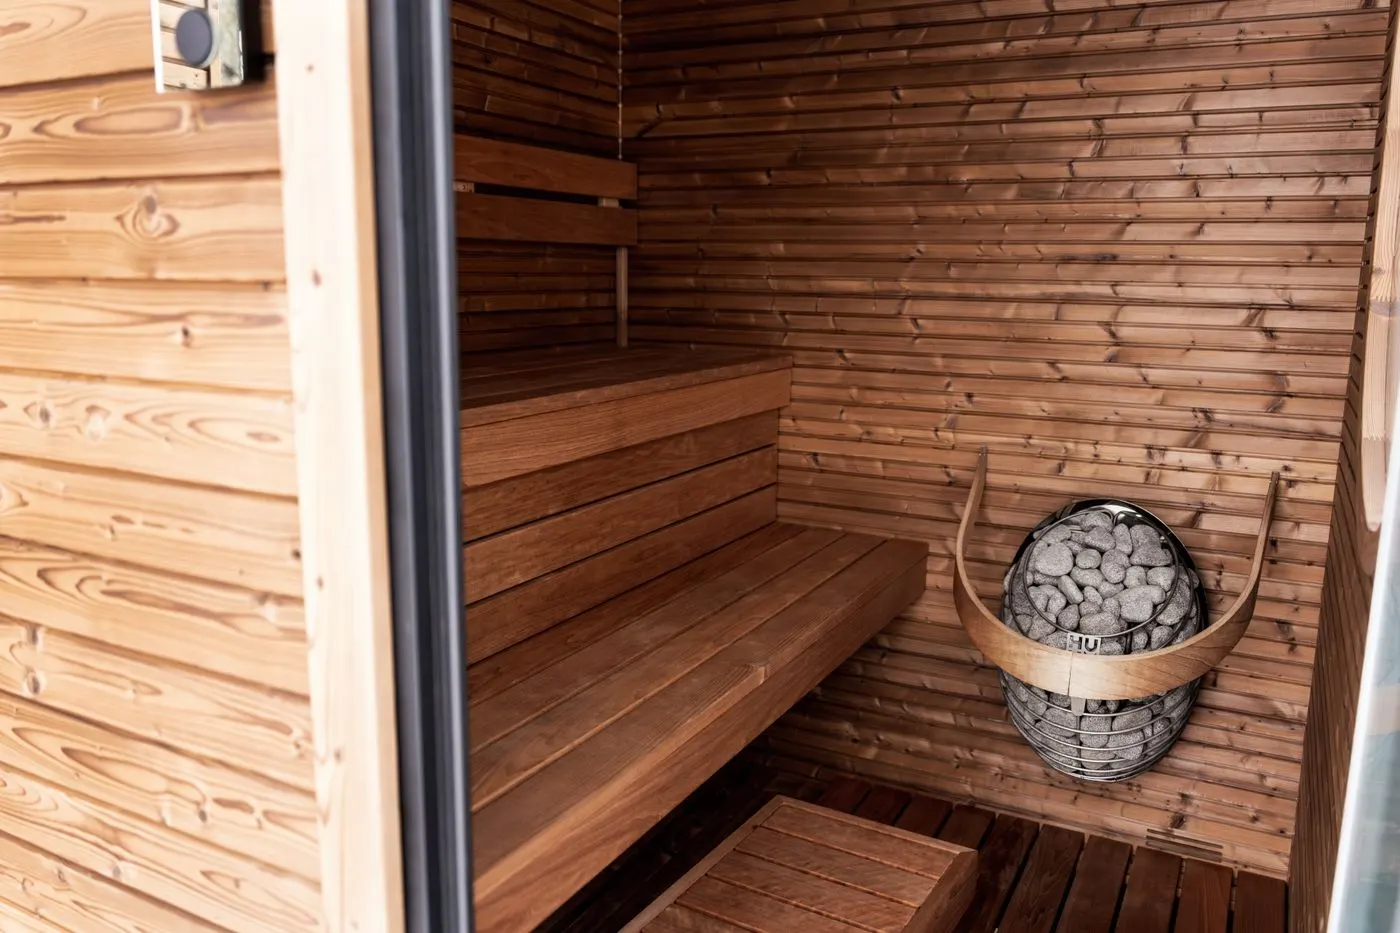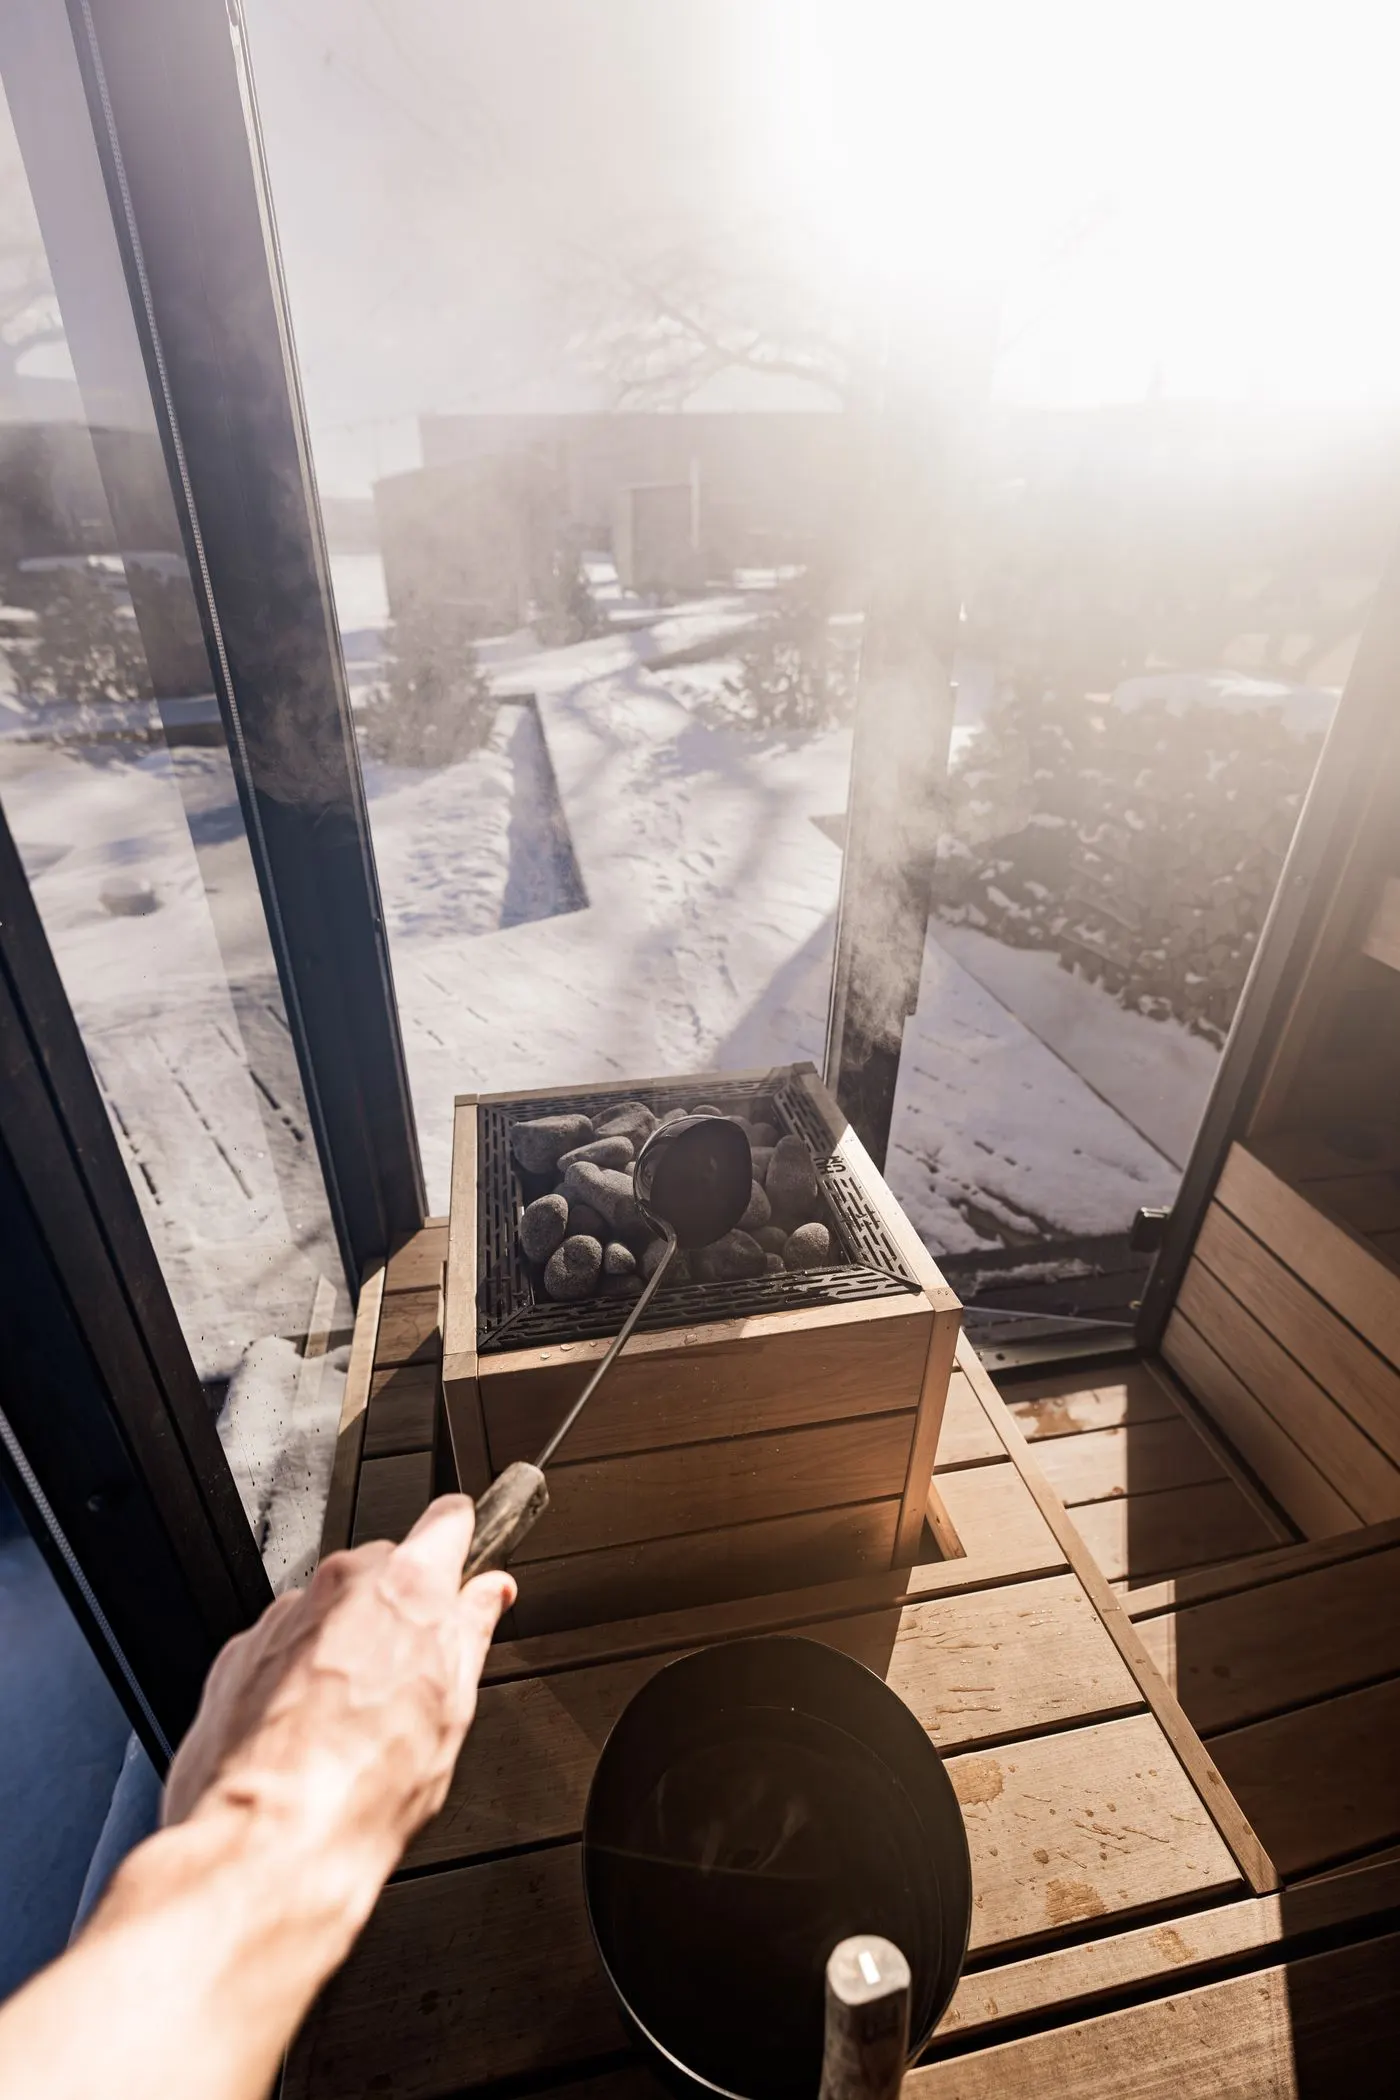
Outdoor sauna ventilation works by bringing fresh air in low near the heater and letting stale, moist air out through an adjustable exhaust on the opposite side. Good airflow keeps the heat even and comfortable while you bathe, and — just as importantly — lets the sauna dry out afterward, which is what prevents condensation, damp and mould in a cold climate.
Ventilation is the quiet half of a good sauna. Nobody photographs the vents, but they decide whether the heat feels fresh and even while you bathe — and whether the sauna dries out or slowly goes damp and musty between sessions. In a cold climate, where warm humid air meets freezing surfaces, getting it right matters more, not less.
What ventilation does
Two jobs, both essential:
- While you bathe: it supplies fresh air and keeps the heat even, so the room feels alive rather than stuffy, and the temperature is consistent from bench to bench.
- After you bathe: it clears the humidity from steam so the wood and structure dry. This is the part that protects the sauna from condensation, damp smells and mould.
Skip ventilation and you get both problems: uneven, airless heat in use, and lingering moisture afterward.
The basic layout
The classic arrangement is simple:
- A fresh-air intake placed low, near or beneath the heater. Incoming cool air is drawn past the heater and warmed as it enters.
- An adjustable exhaust on the opposite side of the room, higher up, to let warm, stale, moist air out.
This sets up a gentle circulation across the room. The adjustable part matters: you can open the exhaust more to dump moisture and freshen the air, or close it down to hold heat. Exact positions depend on the room and the heater, so treat this as the principle and follow your heater manufacturer’s specific ventilation guidance.
Passive vs mechanical
Most outdoor saunas use passive ventilation — vents sized and located so air moves naturally by convection and pressure differences. It’s simple, silent and reliable, with nothing to break. Mechanical ventilation (a fan) can help in particular cases, but for a typical cold-climate outdoor sauna, a well-planned passive layout plus post-use drying does the job.
Electric vs wood-burning
The principles are shared, but the details differ by heater. A wood-burning heater draws combustion air and exhausts through its chimney, which changes how much and where you bring air in. An electric heater has no flue, so the intake-and-exhaust pair does all the work. Don’t assume one layout suits both — follow the ventilation guidance for your specific heater. (Deciding between the two? See electric vs wood.)
Drying: the step people skip
The single most effective habit for a healthy outdoor sauna is to dry it after every use. Open the exhaust fully and prop the door open so the warm, moist air escapes and the wood dries out. A short spell with the heater still warm and the vent open speeds it along. This simple routine, more than anything else, is what keeps condensation and mould away over a Canadian winter.
Insulation and ventilation are partners
You seal the structure with insulation and a vapour barrier, then deliberately move air through the room with ventilation. One without the other fails: a sealed room with no airflow traps moisture; a leaky room wastes heat. See outdoor sauna insulation.
Condensation and mould
Condensation appears when humid interior air hits cold surfaces — a frequent problem in lightly insulated or poorly ventilated outdoor saunas in winter. The defences stack:
- Insulate and vapour-seal so surfaces stay warmer and moisture can’t reach the structure.
- Ventilate with a working intake-and-exhaust path.
- Dry the sauna after each use.
Together these keep the wood dry, the air fresh and the sauna free of musty smells.
Common mistakes
- No exhaust, or a fixed one. You need an adjustable outlet to clear moisture and tune the heat.
- Intake in the wrong place. Low and near the heater is the usual, effective position.
- Never drying the sauna. Closing everything up wet is how mould starts.
- Copying one vent layout for every heater. Wood and electric differ; follow your heater’s guidance.
- Blocking vents to hold heat. Fix insulation instead of starving the room of air.
Next steps
Pair good ventilation with proper insulation and a correctly sized heater, and read how to prevent condensation in an outdoor sauna for the winter-specific routine.
Frequently asked questions
Why does a sauna need ventilation?
Two reasons: comfort and moisture. Fresh air keeps oxygen up and heat even while you bathe, and airflow removes the humidity from steam so the sauna dries between uses. Without ventilation you get stuffy, uneven heat and lingering moisture that leads to musty smells and mould.
Where do sauna vents go?
A common layout is a fresh-air intake low, near or under the heater, and an adjustable exhaust on the opposite wall, higher up. This draws cool air in past the heater and pushes warm, stale air out across the room. The heater type and room affect the exact placement, so follow the heater manufacturer's guidance.
Does an electric sauna need different ventilation from a wood one?
The principles are the same, but details differ. A wood-burning heater draws combustion air and vents through its chimney, which affects intake needs; an electric heater doesn't. Follow the specific heater's ventilation guidance rather than assuming one layout fits both.
How do I dry my sauna after use?
Open the exhaust vent fully and prop the door open so warm, moist air escapes and the wood dries. Running the heater a little longer with the vent open, or simply leaving everything open for a while, clears the humidity that would otherwise condense on cold surfaces.
What causes condensation in a sauna?
Warm, humid interior air meeting cold surfaces — common in lightly insulated or unventilated outdoor saunas in winter. The fixes are better insulation and vapour control, a working intake-and-exhaust path, and drying the sauna after each use.
Do I need a mechanical fan?
Usually not. Most outdoor saunas use passive ventilation — vents sized and placed to move air naturally. Mechanical ventilation can help in specific situations, but a well-planned passive layout, plus drying after use, handles most cold-climate saunas.